Snoqualmie South Fork
August 6, 2021
I took a trip up to the Pacific Northwest to take a swift water canyoneering course with Get In The Wild.
Day 1
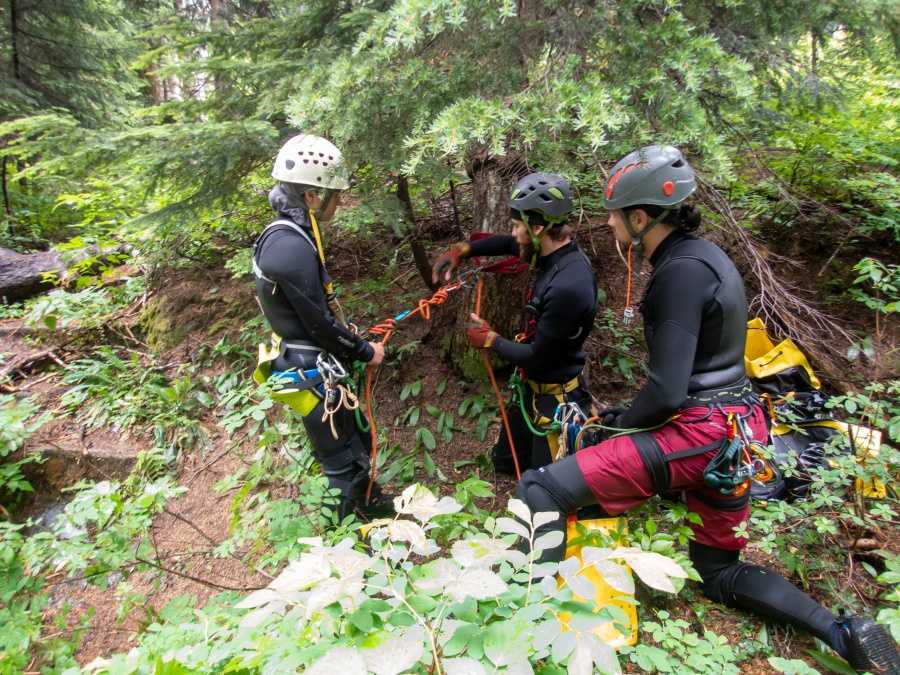
Day 1 was mostly a ground school. The other students and myself were a little more experienced than a normal introduction to canyoneering course so we glossed over a lot of it.
A couple of the highlights were that we practiced ascending and descending with friction hitches and mechanical ascenders. I hadn't used friction hitches in a while so it was good practice to move up and down with those. I had also never tried descending with a toothed mechanical ascender. It was a terrible experience and I absolutely hated it.
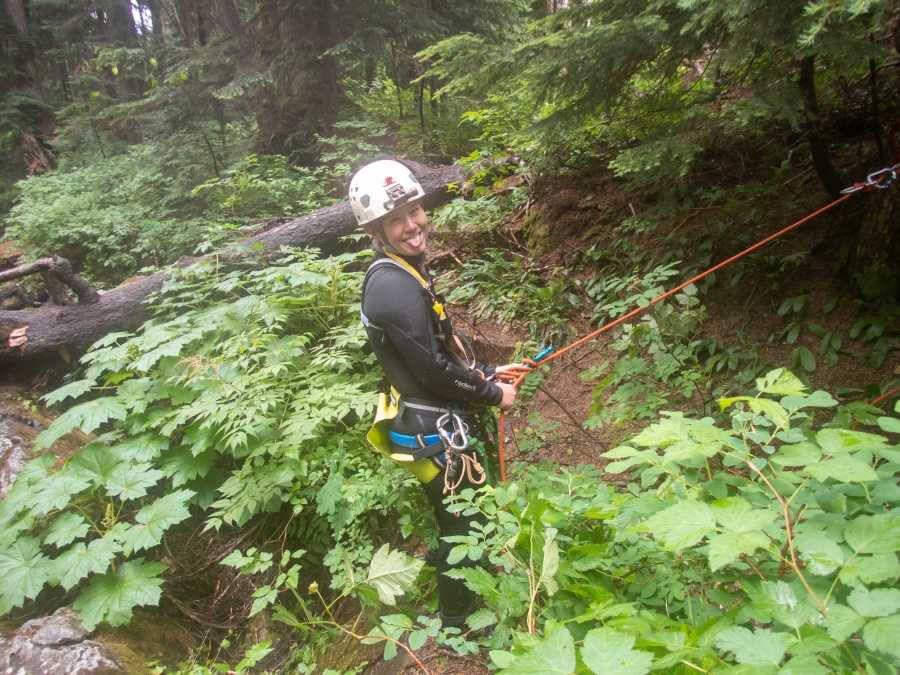
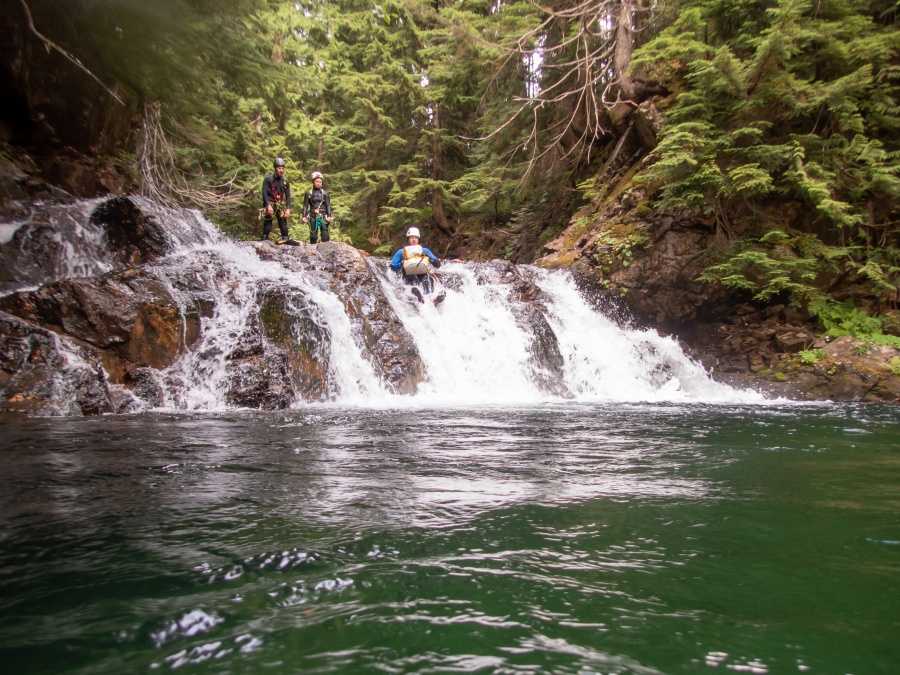
We finished things really early that day and so we spent the last few hours going over jumps and slides. This was one of the highlights of the trip and I'll go over it more on Day 2.
Day 2
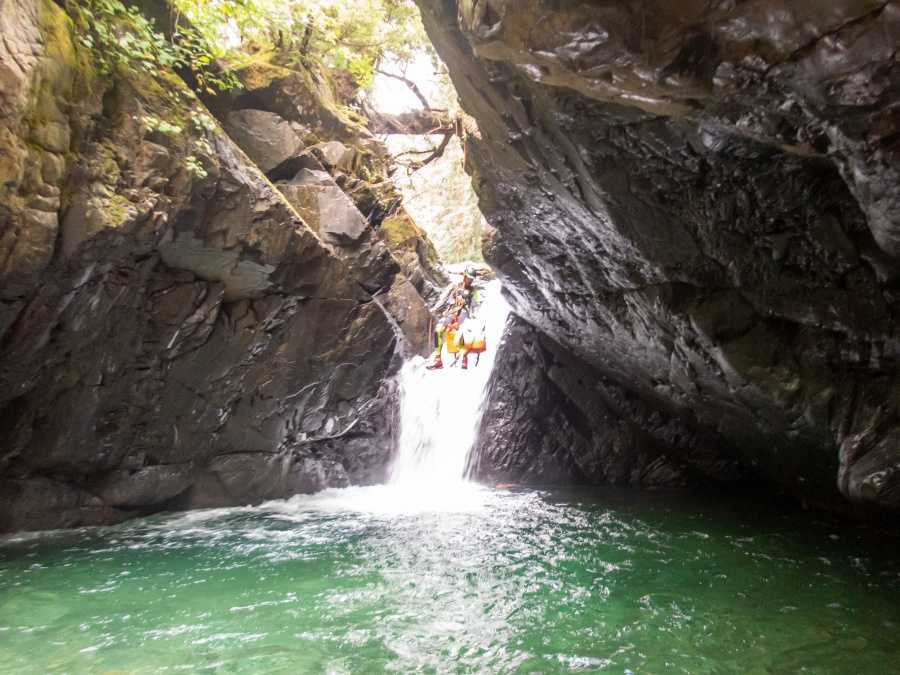
Ground school again in the morning. We went over swift water hazards, rigging, rappelling, and locking off while on rappel. The swift water hazards were all new to me and it was great to finally be able to learn about this. I'll update the website soon with more accurate information regarding water hazards and swift water features.
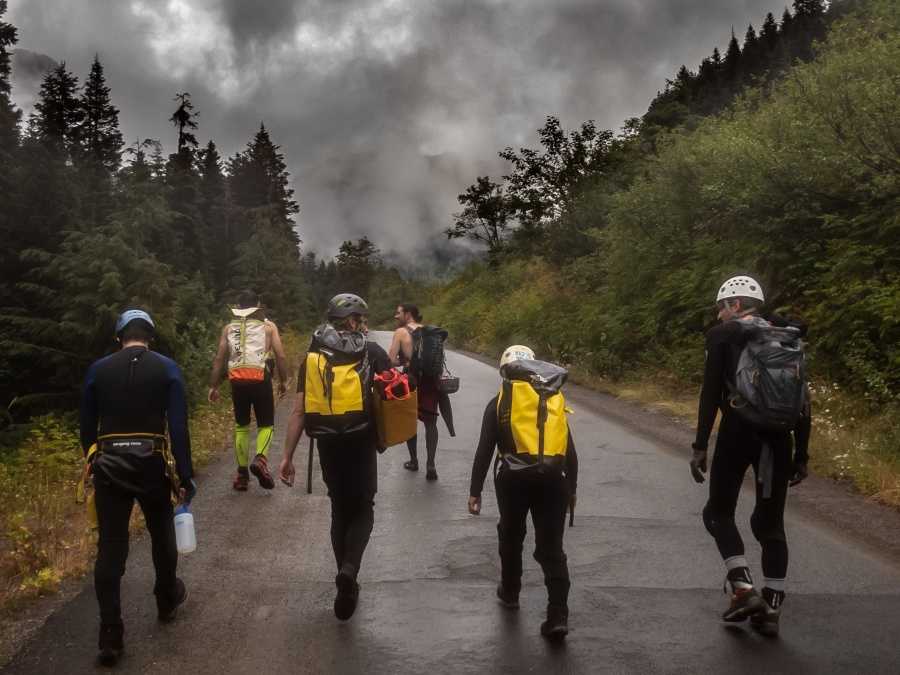
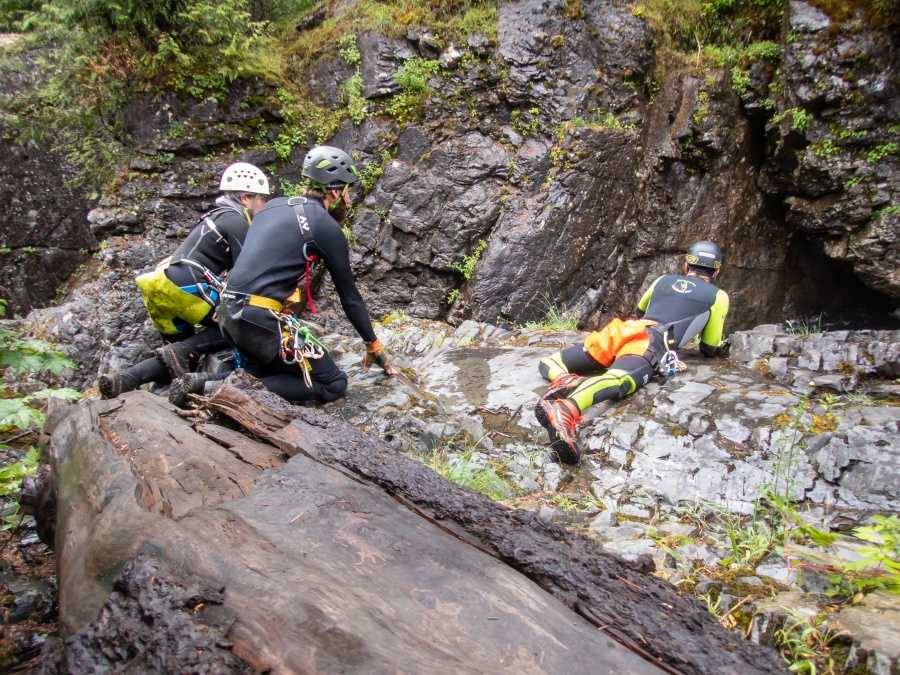
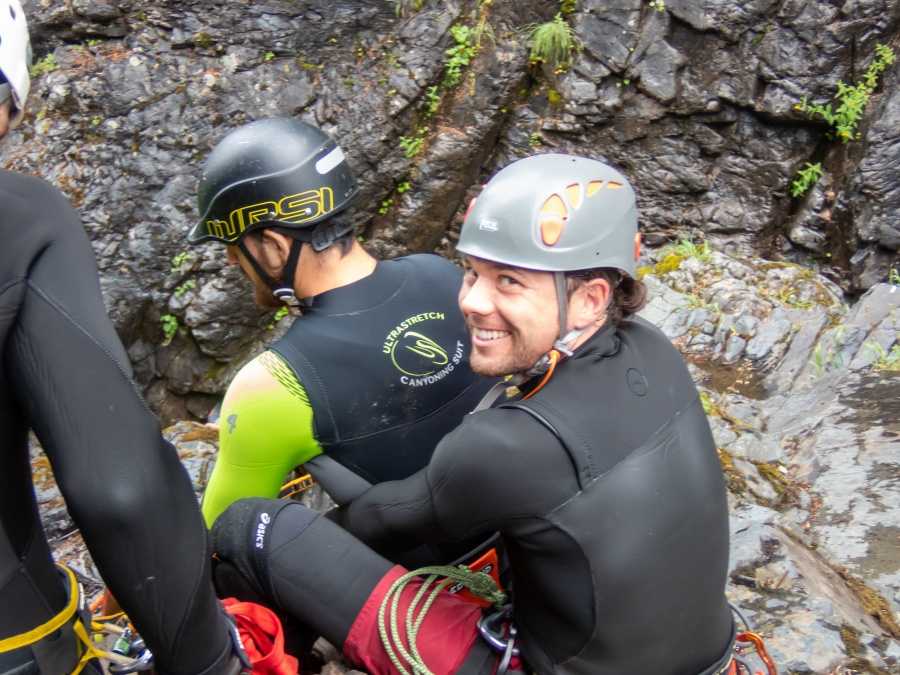
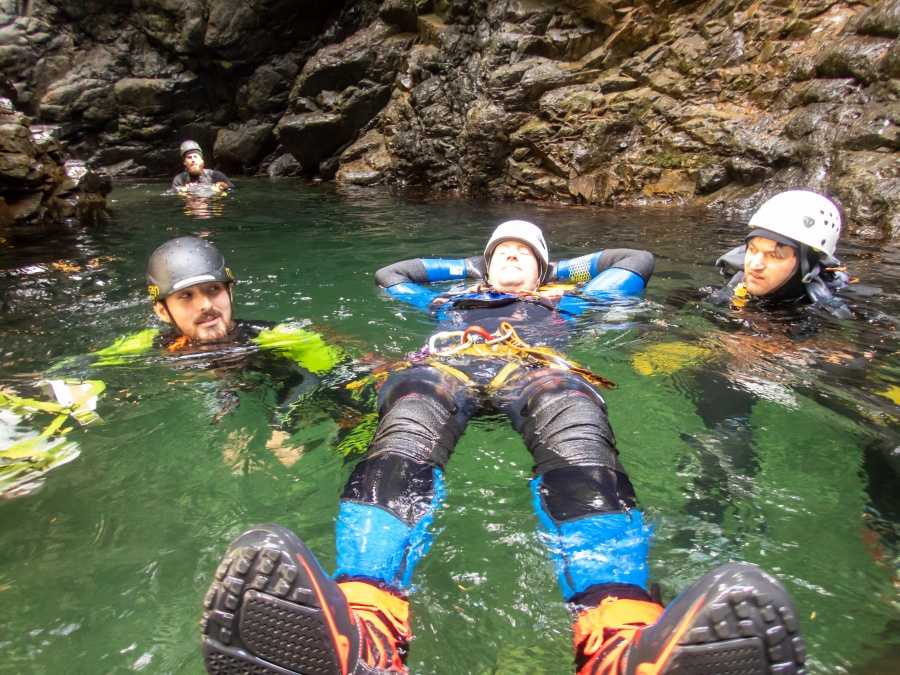
After that we went back into South Fork Snoqualmie!
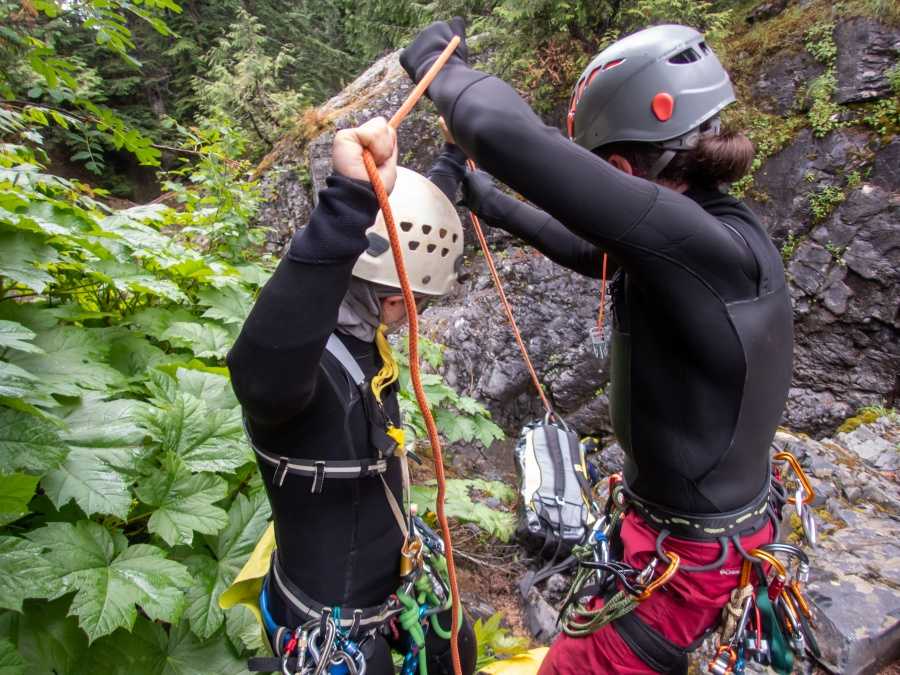
- Rappel line is threaded through the rapide like always.
- Carabiner is clipped into the same rapide and then a figure 8 device below that. The rope must be above the carabiner so it doesn't get pinched between the carabiner and the rapide.
- For the lock off the rope wraps back up and around the rappel side and the big hole of the 8. I've heard type of lock off called the pop-and-lock. After this you wrap the rope around the skinny part of the 8, kind of like the extra half-wrap on a compact secure. Then you take a bight and put it through the big hole of the 8. Finally you use that bight to tie a mule/overhand.
Those were the first two days. Next day is Hall Creek.